Whats New, You may ask?
So whats new you may ask, well there aint much but i did improve some aspects of theBOX M2 mainly in the hardware side of things. Now theBOX is a fully portable device no need of an wall outlet, and in order to house the new power delivery system i had to redesign the whole mainframe of theBOX. also added some quality of life improvements such better way to mount the nvme hat and other additions such as improved air vents , now then lets dive in deeper into theBOX M-3.


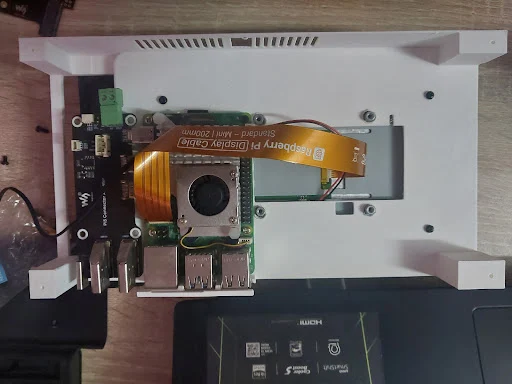
The new and improved Chassis
so the new Chassis for theBOX is improved in some ways and just gotten worse in some , as for the improvements it got much more vents for air flow so the Active cooler would be able to pull more air to cool the pi when required, and it would be able to house the new power supply solution, you guys can check out the 3D files over here (fun fact : everything was designed using tinkercad)
 h
h
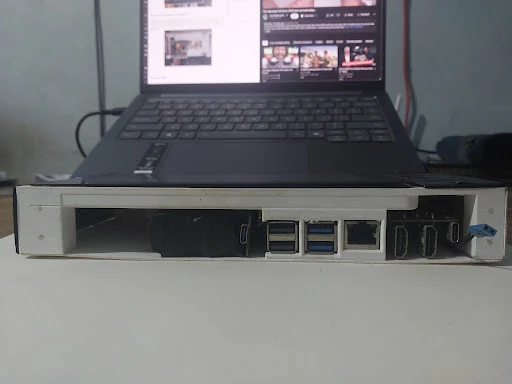
The new PSU
Yes you read it right! Now theBOX don't have to be tethered to wall anymore, now its more of a cyberdeck haha. You may ask whats the new psu?? well i just bought a powerbank and extracted all the components tweaked some aspects of it fit it inside the new chassis, well i initially wanted to go the Geekworm x1200 series USP hats and modify it so that the boards don't have to stack up each other but the modifying a powerbank option was much cheaper compared trial and erroring with the UPS hats, this does provide me with somewhere from 3 hrs to 10hrs of battery back up depending on the workload


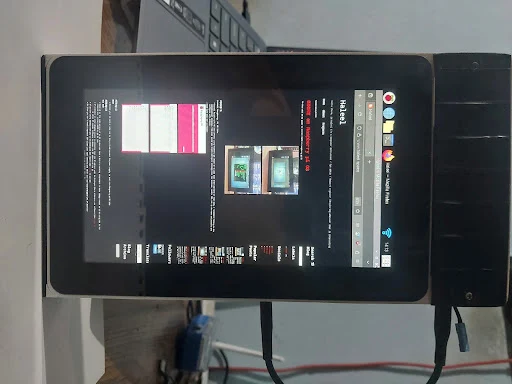
What went wrong?
well things did not go as i planned for the M3 of theBOX mostly it was fine but after testing it out in the real world i faced quite a few challenges when it comes to ergonomics first of it was a bit longer compared to the M2 and heavier holding something like that in landscape was not fun when i had to hold it for longer time periods , also in the pursuit of adding more vents i kinda messed up the wall thickness so yea some of the walls were like 1 to 2mm thick not ideal if you wish to take it around places especially when those thin walls don't have any reinforcements.
So What's Next?
so far i have some things planned out for TheBOX M4 , mainly it'll be in portrait mode rather than being in landscape , maybe i can add some sort of accelerometer or gyro sensors to add kind of auto rotation feature like the ones on a smartphone (well i should note that down).
I also have plans to increase the battery Capacity from 10,000mah to 20,000mah and add the rest of the hardwares required for SDR and LoRa (maybe sub Ghz functionalities) well that would be fun to work with, well until then see yea
Comments